Dedicated CS2 servers allow you to create a personal space for practice, competition, or playing with friends. It seems cool, right? But, how to create a dedicated CS2 server? If you are looking for an answer to this query, your search ends here.
Continue reading this blog post to discover the requirements for a dedicated server and configuring it properly. So, without wasting time, let’s dive into this server creation guide!
An Insight Into The Basics
A dedicated server is different from a community server in many ways. Listed below are some of the differences that set these two apart:
- A dedicated server is all about customizability whereas the community one lacks control.
- The performance of dedicated servers is better due to their exclusive access option.
- On the downside, accessing the dedicated server is difficult while the community ones have no complex requirements.
After going through the differences, if you want to host a dedicated battlefield to enjoy with your friends, we have got you covered.
Essential Requirments For Launching Your Own CS2 Server
You must fulfill some prerequisites before launching your server. It is important to pick up the right combination so you don’t encounter any lags or crashes during the gameplay. Allow us to share the hardware requirements with you:
- Processing Power: A 4-core CPU running at 3.0 GHz.
- RAM: At least 6 GB RAM. (Opting for an 8 GB will be better)
- Memory: 60 GB Free storage.
Apart from the hardware requirements you must have a compatible OS to run the CS2 server. The most popular options include Windows OS and Linux.
Discussing the Easy Steps To Launching CS2 Server
Once you have the right set of hardware configurations, it’s time to set up the Server. We will break down the whole process into different easy steps to avoid complications. But, before that, we need to configure our router to open ‘port 27015’ via UDP.
Opening Port 27015 (UDP) For IPv4
Many online guides suggest that the first step is configuring the port, but nobody will tell you how to do it. Fortunately, you are in good hands. Let us show you the proper method for configuring your port.
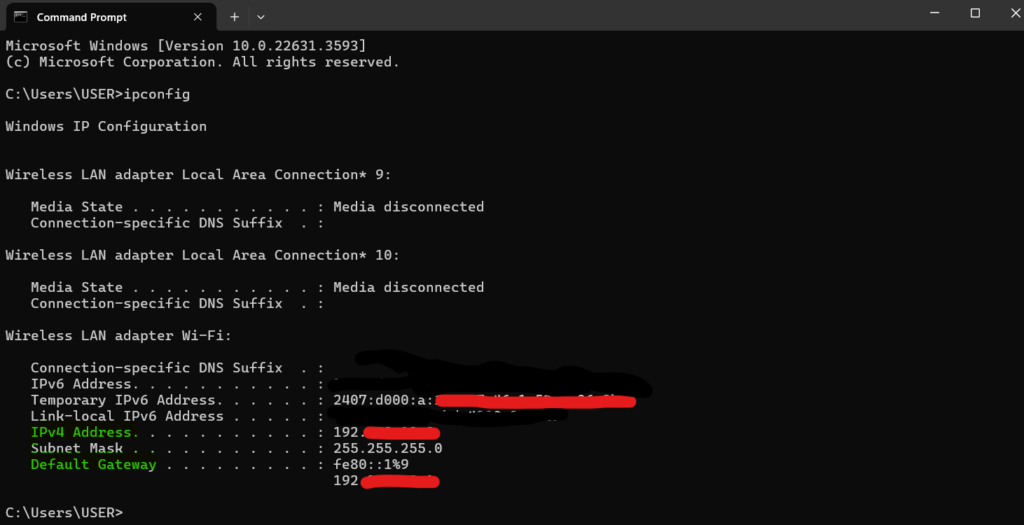
- You need to look out for your router’s IP address. Open CMD from the search and input ‘ipconfig’. Try to find the line stating the default gateway. Voila! Here’s your required IP address.
- If you are on MAC, the process is a little bit different. Head on to Network via System preferences. Select your internet connection and choose Advanced. Under TCP/IP, you can find your required IP address.
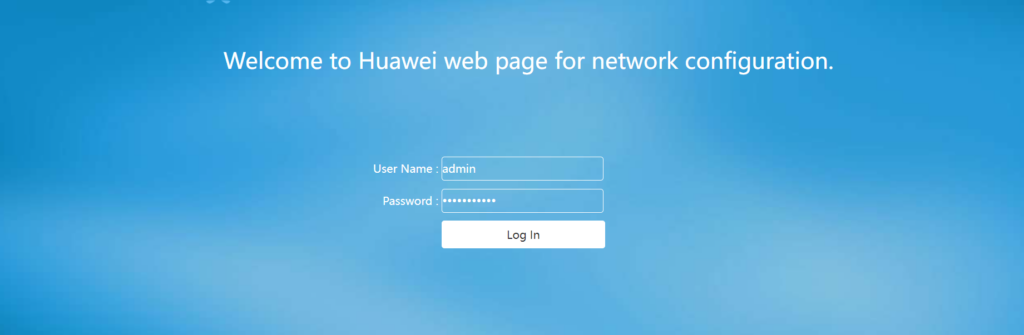
- Open any web browser and input the IP address you find through the earlier step.
- It will ask you for the login and password. It’s usually on the back side of the router. If you are unable to find it, search for the default password using your Service provider or Router name.
- Once you log in successfully, search for terms like ‘port forwarding or ‘virtual servers’.
- Now, you need to fill in the blank fields. Enter the Server name. For both internal and external ports, type 27015. Select UDP as protocol. For internal IP address, follow the first step and look out for IPv4.
- Save these settings and restart your router so it can work properly.
Launching The Dedicated Server
Now that we have configured our router, it’s time to head on towards the main course. Let’s see how to launch the server:
- Make a shortcut of the original .exe file of the game. You can find it in the Steam folder. For the complete address, follow this pathway: \steamapps\common\Counter-Strike Global Offensive\game\bin\win64\cs2.exe.
- Once you have created the short, right-click on it and head toward the properties. After the closing quotes in the target field following CS2.exe, insert space and add the following text: -dedicated -usercon +game_type 0 +game_mode 1 +map de_inferno
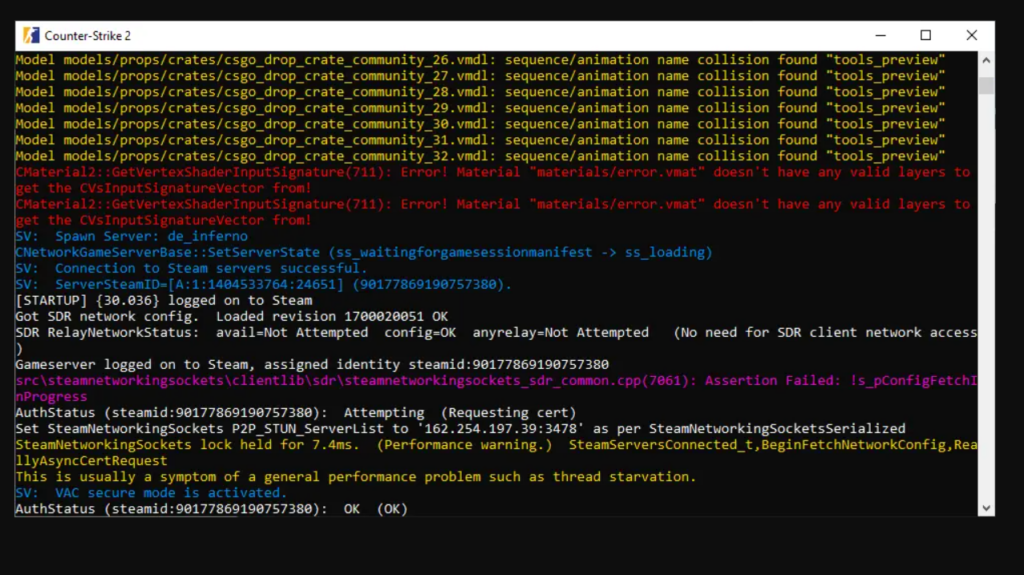
- Initiate the Steam and execute CS2 through the library. After that, you need to run the shortcut you modified earlier. This will make the server running.
- Now minimize your game, head towards the console, and input ‘local host’.
- Mover over to the server console you launched earlier and input ‘status’.
- Look for the udp/ip section in the displayed data. Find the IP address in the parentheses next to the word ‘public’ and copy it.
- Share the copied address with your friends and ask them to join you in the game by typing that IP in the console.
You must remember that if you make your server public, anyone can join it but it can affect the performance too and also ruin the fun experience.
Conclusion
Let’s finalize how to create a dedicated CS2 server. Creating a dedicated server provides you with unlimited customization options. It is one of the best ways to have fun on the battlefield with your friends.
To create a dedicated server, you must have a good hardware configuration including a quad-core CPU, 8 GB RAM, and almost 60 GB of free storage. You need to set up your router and follow the above-shared instructions. Within just a matter of minutes, you’ll be able to enjoy CS2 with your friends on a dedicated server.